|
|
To have a trigger start its action only when a certain condition has been met, you can use the condition property found on the Advanced tab of all trigger user interfaces. To define the condition however, there are two ways:
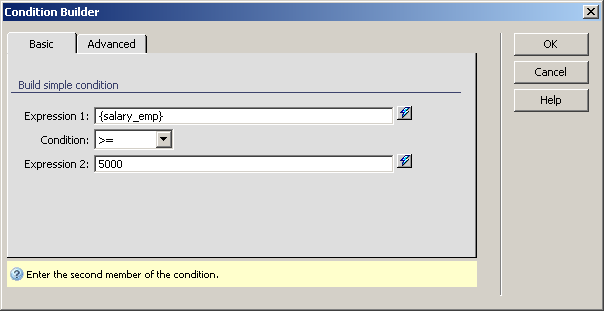
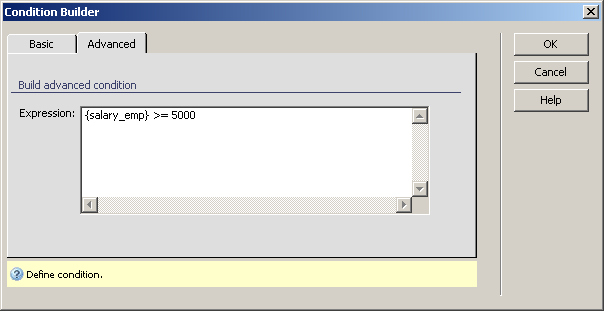
The Condition Builder allows building conditions from either static or dynamic data, using an intuitive interface and generating all the required code for you. If you need more complex conditions, simply switch to the Advanced tab, and you can enter it.
The dialog box is divided into two tabs:
The Basic tab, where you can build relatively simple conditions easy.
The Advanced tab, where you can type in more complex conditions.
To set the dialog box options, follow the next steps:

The three buttons in the top right corner of the
interface offer you the next functionalities:
· Click OK when you are done configuring the dialog box.
· Click Cancel to exit without applying the new settings.
· The Help button opens this help page.
These buttons are common to both tabs of the Condition
Builder
To set the dialog box options, follow the next steps:

In the Expression text area you can see the condition set in the Basic tab. You can make it as complex as you want by using other variables, constants, operators.
Click OK when you are done building the condition.
Note: When switching from the Advanced
tab to the Basic one, if the condition is
simple enough, it will be recognized, and the respective fields will be
filled in automatically.