|
|
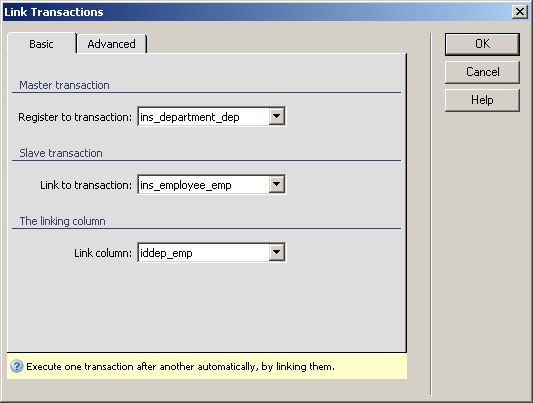
This server behavior links together two transactions in page, automatically executing one of them after the other. It can be accessed from Server Behaviors -> MX Kollection -> Forms -> Advanced -> Link Transactions. The user interface has two easy-to-configure tabs.
To set the options for the first tab, follow the steps below:

In the Register to transaction drop-down menu select the transaction that you want to be executed first. It is called the master transaction.
In the Link to transaction drop-down menu select the transaction that should follow after the previous one. It is called the slave transaction.
In the Link column drop-down menu select the table field on which the linking transaction is based.
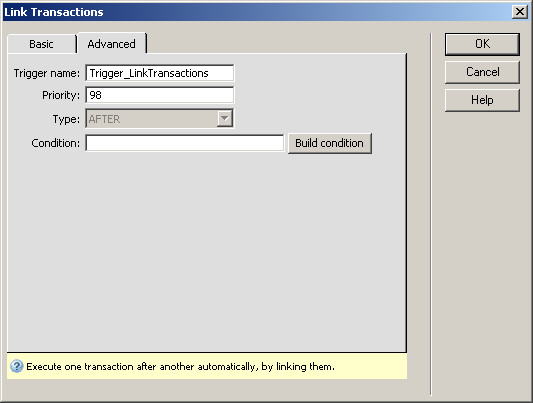
Click on the Advanced tab to continue configuring this server behavior.
In order to configure the Advanced tab
of the server behavior, you can find instructions for each of the interface
fields here:

After applying the server behavior, there are still some things you have to do in your Dreamweaver page (in case you haven't done any modifications on the buttons and form tags of the two transactions yet) so to obtain the expected functionality. These things are:
delete the submit button from the first transaction.
connect the two forms (corresponding to the two transactions) by deleting the closing form tag of the first form and the opening tag of the second form.
make sure the first transaction is executed on the correct starting condition (since its submit button was deleted, it will now depend on the submit button of the second transaction).
To fully understand how this server behavior works, consult the How
to Insert Records Into Three Tables tutorial. Specific explanations
about applying the Link Transactions server
behavior inside this tutorial are found here.